Logo Review Guide
How to Inspect a Logo Before Sending It to Print
Use this practical preflight checklist to inspect an existing logo for color, bleed, scale, resolution, and file issues before sending artwork to a printer.
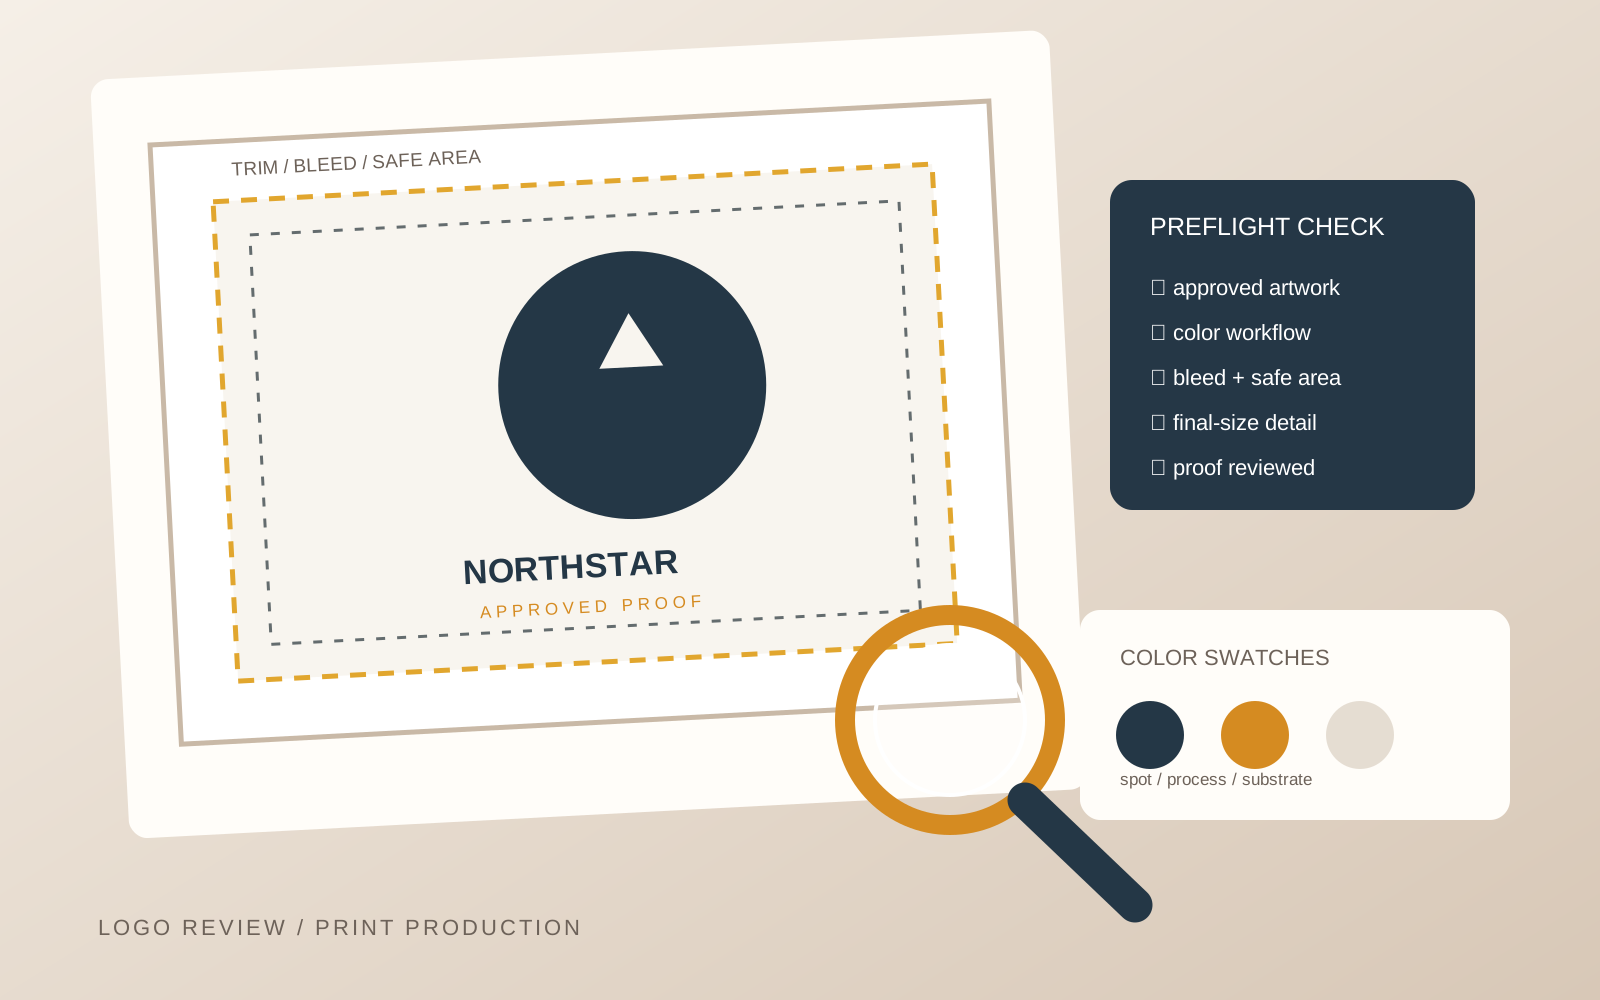
A logo can look correct on your monitor and still print with the wrong color, a clipped edge, soft detail, or an unexpected background. Before you send an existing logo to a printer, inspect the artwork in the context of the actual job—not just on a white artboard.
This preflight checklist helps brand owners, marketers, and anyone approving a logo file catch preventable problems. It does not replace the printer’s specifications or a physical proof. For a broader review vocabulary, see Logo Evaluation Criteria; for delivery formats, see Logo File Formats Explained.
Start with the job, not the export
Collect the print specification first
Do not begin by exporting a random PDF and hoping it meets the printer’s requirements. Record the finished size and orientation, substrate, printing process, number of colors, bleed and safety margins, accepted formats, color-profile requirements, and whether the printer needs outlined type, linked assets, or an editable source. Also ask whether a physical proof will be supplied.
A business card, screen-printed shirt, label, and storefront sign create different production conditions. Printer requirements take priority over a generic checklist, so ask before making a final conversion.
1. Confirm that you are inspecting the approved logo
Print production is a poor time to discover that the file is an old concept or an unapproved color variant. Compare the symbol, wordmark, and lockup against the current brand reference or handoff package. Confirm that proportions were not stretched, the colorway suits the background, and any tagline or registration mark is current.
- Remove hidden alternates, stray objects, guides, and unused layers that could affect output.
- Work from a clearly named production copy and record changes for this job.
- Treat a new one-color or reversed treatment as a design decision to approve, not an improvised export filter.
Keep the source file untouched. If the package needs a responsive variant, use an approved version rather than redrawing details during preflight.
2. Check color in the right context
A screen emits light while printed material reflects it. Paper, fabric, vinyl, ink, and viewing conditions can change the result. Check the artwork against the requested CMYK, spot-color, or other workflow; verify spot-color names and numbers; and use the printer’s supplied profile when one exists.
- Test transparency, gradients, and effects in the intended output workflow.
- Confirm that the one-color version uses the approved ink value.
- Inspect light and dark applications, especially for small type and thin strokes.
Do not convert colors repeatedly just to make a screen preview look familiar. Ask the printer or production designer to confirm the final conversion path, then judge small details at the intended viewing size rather than while zoomed in.
3. Verify bleed, trim, and safe area
Bleed is artwork extending beyond the trim edge so cutting variation does not leave an unintended white strip. It is not the same as clear space around the logo. Check the trim line, the printer-specified bleed area, and the safe area where important logo details should remain clear of cutting and finishing risk.
- Confirm the logo’s distance from trim, folds, seams, holes, spine, or binding.
- Open the final document with guides or a preflight view.
- Confirm bleed is present on every required edge and that no mask, artboard, or export boundary clips the logo.
Do not assume a standard bleed value applies to every job. The printer’s specification controls.
4. Inspect scale, detail, and resolution
Vector artwork can usually be scaled without pixelation, but thin strokes, counters, gaps, and fine type may close up or disappear. Place the logo at its actual finished size and normal viewing distance. Look for closed counters, disappearing gaps, soft or jagged edges, unreadable small text, and uneven optical weight after reduction.
For raster artwork, check effective resolution at the final placed size. Around 300 pixels per inch is a common reference for many close-view print images, but large-format work and other processes may differ. Do not enlarge a small PNG and call it print-ready; request an approved vector master or suitable high-resolution source.
5. Check the file itself, not only the artwork
A visually correct logo can still fail because of missing dependencies or an unexpected export setting. Review the requested format and version, artboard size and units, embedded versus linked images, font dependencies, transparency, clipping masks, live effects, hidden layers, overprint behavior, unwanted registration marks, filename, revision date, and approval status.
Outlining type can prevent font substitution, but it removes easy editing and can create complicated paths. Keep an editable source with live type when appropriate, and provide an outlined production file only when it matches the handoff requirements. A PDF/X preset may suit one workflow and be wrong for another; use the printer’s requested standard and preflight profile.
6. Review a proof before approving production
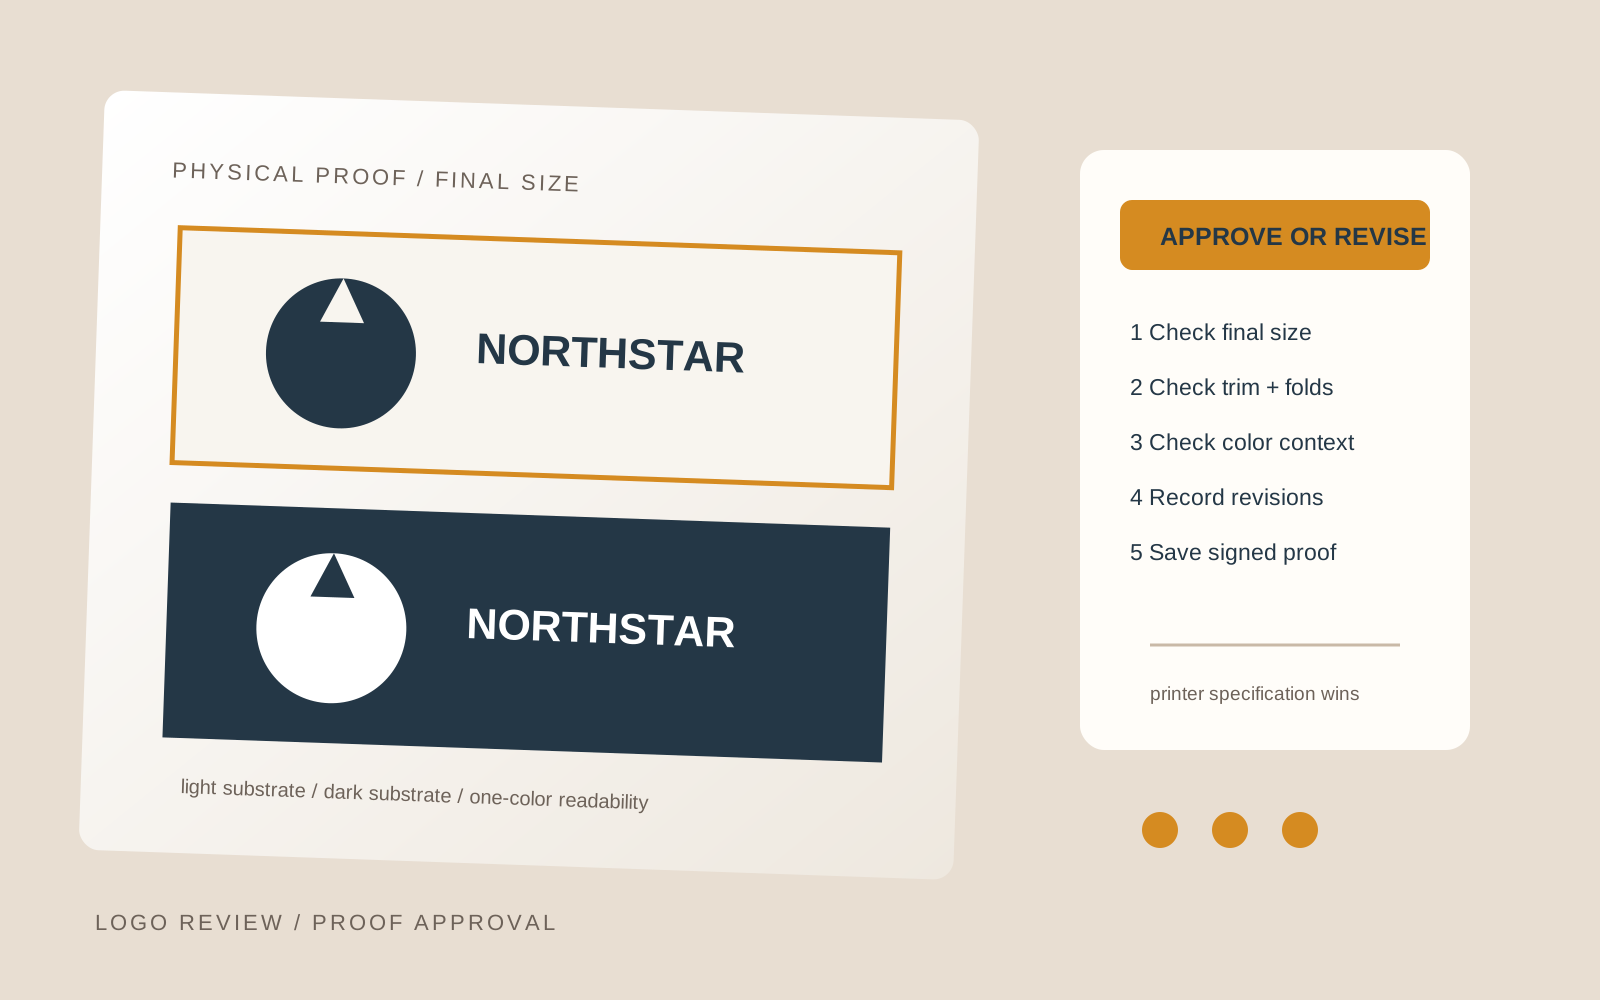
Preflight catches file problems; a proof helps you judge the result. Ask what kind of proof is available and what it represents. A contract or calibrated proof may help with color evaluation, while an office print can help with scale and placement but should not be treated as an exact color match.
- Check logo position, orientation, clear space, color relationships, and readability.
- Check trim, folds, seams, finishing areas, and small details at final size.
- Confirm the correct logo version appears on every panel or item.
Save the approved proof or written approval with the final file. If material, process, or color specifications change, repeat the review.
A final print-preflight checklist
- The artwork is the current approved logo and variant.
- Process, substrate, size, and printer requirements are documented.
- Color mode, profiles, and spot colors match the specified workflow.
- Bleed is present where required and the logo is inside the safe area.
- Final-size detail, vector suitability, raster resolution, fonts, links, masks, and overprint settings are checked.
- Unwanted marks, hidden objects, and old revisions are removed from the production copy.
- A proof and approval record identify the correct final version.
If the logo is being prepared for multiple applications, do not force every use case into one export. The Logo Review Tool can help assess the existing mark across design dimensions before you hand the approved production decision to a printer. It is an evaluation aid, not a substitute for printer specifications, preflight, or proof.
Print logo inspection FAQ
Should a logo always be converted to CMYK before printing?
Not always. The correct workflow depends on the printer, process, substrate, and whether the job uses process or spot inks. Ask the printer which color space, profile, and delivery standard they require. Converting a file without that information can produce a different result from the intended production workflow.
How much bleed should a logo print file include?
Use the bleed amount specified for the particular document and printing process. A common value may be suitable for some jobs, but it is not a universal rule. Bleed belongs to artwork that reaches the trim edge; important logo details should remain within the printer’s safe area.
Is an SVG logo ready to send to any printer?
No. SVG is useful vector artwork for many digital and design workflows, but a printer may request a PDF, EPS, native file, or a process-specific package. An SVG can also contain unsupported effects, linked assets, or font dependencies. Follow the printer’s requested format and preflight the actual delivery file.
What resolution should a raster logo have for print?
Check the effective resolution at the logo’s final placed size and follow the printer’s guidance. Around 300 pixels per inch is a common reference for many close-view print images, but large-format work and other processes may use different requirements. A low-resolution raster should not be enlarged and assumed to be equivalent to a vector master.
Can a logo that looks correct on screen still print incorrectly?
Yes. Screen brightness, color management, paper or material, ink, viewing distance, trimming, and file settings can all change the result. Inspect the production file, review a suitable proof when needed, and keep the printer’s specification as the source of truth for the job.
A reliable print check is not about exporting more files. It is about matching the approved logo to the real production process, testing it at the real size, and recording a decision that the printer and brand owner can both trust.